Wednesday, January 26, 2011

Dino Graffiti

In a previous post we mentioned that certain surprises were found under the paint and here is the proof. During assembly, parts are matched to a particular car and are issued an assembly number by the factory. Our Dino has the number 197 and we have been finding it all over the place. The real surprise came under the hood, trunk, and engine bay panels where the number was incredibly well preserved.

We will keep these intact and hide them under their new coat of paint thereby keeping the panels as original as possible.


Friday, January 21, 2011

Birthday celebrations and a special gift

It's not every day you turn 40 and Dino #01464 celebrated it in style with Ferrari 308 #20783.

Also what birthday is complete without a gift and this came courtesy of the generosity of a fellow multiple Dino owner and enthusiast. Thank you Jon for aiding in the restoration efforts.


Thursday, January 20, 2011

Happy 40th Birthday 01464

On this day in 1971 Dino 246GT #01464 was completed in Maranello Italy. What followed was a test drive though the Modena countryside followed by a long trip by boat, rail, and truck to Yonge Steeles Motors in Toronto Canada. Today, 40 years on, 01464 remains a resident of Toronto and is in the midst of a full restoration to its original splendor.

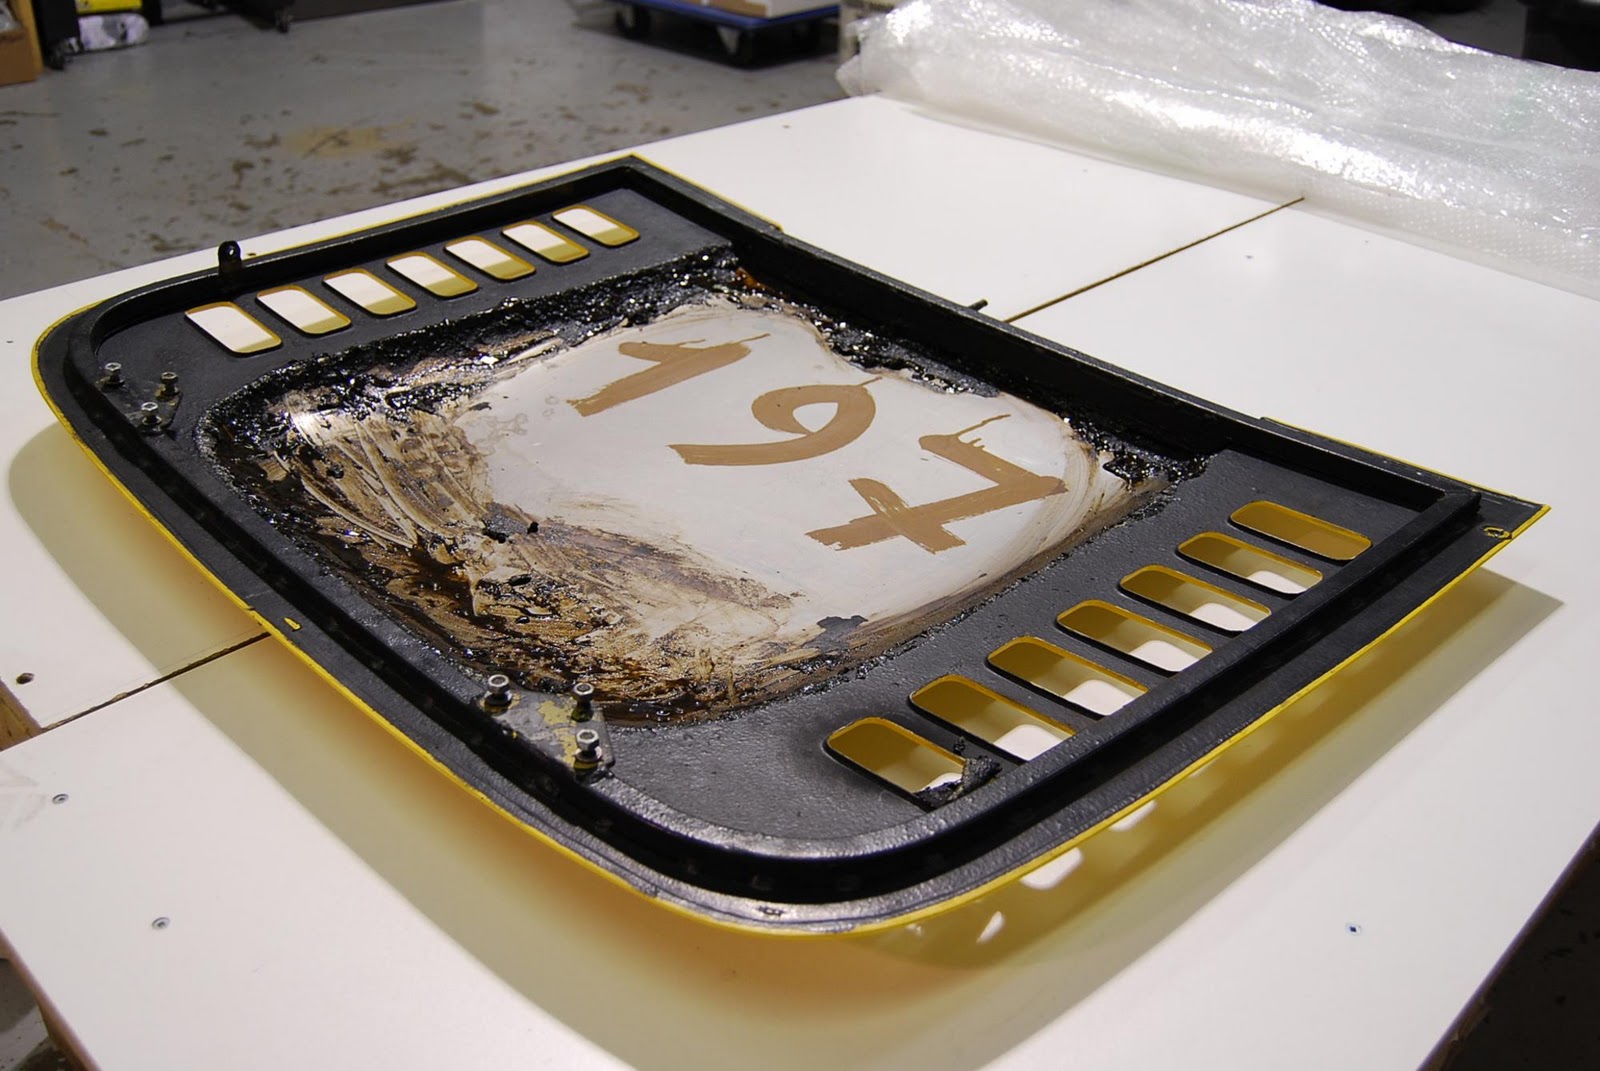
Below are some historical images chronicling the bodies at the Scaglietti Coachworks, followed by some of the Dino assembly stages, and lastly 01464 today apart and awaiting media blasting.

Grazie e Buon Compleanno


Photo Credits: Author and Ed Niles

Wednesday, January 19, 2011

The last part

Meanwhile back in Canada a symbolic affair took place as the last part was removed from the Dino. Fittingly it was the nose badge that carried this honor. Now stripped of all parts the shell will undergo final preparations before going for media blasting.


Tuesday, January 18, 2011

A day of research in SoCal

If you want to have a look at Dino's then Southern California is the place. Today thanks to some fellow F-Chatters I had a look at 4 cars each of which gave a few useful clues to getting our Dino back to perfect. Thank you to Tom, Freeman, and John for sharing their cars with me.

Here are some pics of what I saw:


Monday, January 17, 2011

On to the body....Goudey stripper continues to impress

Attention is being turned to the body as our window at the body shop is fast approaching. While the main shell will be media blasted, chemical strip is being used on some of the smaller panels. Again we turned to the fantastic Goudey paint stripper that made easy work of the old finish on the hood.

Stay tuned for a future post as something special was found under the paint.


Monday, January 3, 2011

If its not brake...don't fix it!

We were faced with a dilemma related to the brake booster. It worked perfectly well but the outside finish was poor and needed re-plating. Normally this would require a full dis-assembly and re-build but we decided to try something a little different. You see the brake booster is a chamber that is air tight and operates in a vacuum, so we figured if air cannot get in then neither will any fluid during the plating process assuming that it is sealed properly.

So we sealed it using high density polyethylene plugs we made and some old radiator hose (that explains the curve; there is no technical reason other than it is what we had available). After sealing it we decided to both test our plugs and the condition of the brake booster itself. Using a simple vacuum pump we fed in the same kind of vacuum the engine would make and let it sit for 10 minutes. With no drop in pressure (or increase as the case is) we knew it was well sealed.

Next it is off to the plater to confirm if the theory works. Once back we'll test it again and if the numbers look good then it is back on the car and off to the next task.


Saturday, January 1, 2011

New year....same project :)

The New Year was ushered in with the completion of the wiper motor assembly. Second only to possibly the engine in complexity, it was with great pleasure and relief that we got it back together. After a quick electrical test we found it working better than ever and the assembly has now been transferred the growing box of 'finished' parts that are to be installed during final assembly.